.
Pre-Import Checklist
Help Scout
- Make sure you've created a mailbox and connected your custom email address (see the External section below for more about the forwarding portion of that connection). Check out Get Your Email Into Help Scout for the step-by-step guide to getting that done.
- Set up your mailbox as needed — add an email signature, set the default options, add aliases you'll be forwarding over, and more. Head over to Customize Your Mailbox Settings for more information on those options. Make sure you set up your Outgoing Email Settings as well to ensure you're ready to start replying from Help Scout.
- Create new User accounts for your team. Create and Manage User Accounts has more help on how to get that moving, and don't forget to adjust User Roles and Permissions as needed.
Zendesk
- Disable ticket channels to prevent new tickets being created from sources other than email. For example, turn off the Chat, Twitter, and Facebook integrations so that new requests are no longer funneled into Zendesk.
External
- Make sure you're prepared to change your email forwarding to go to Help Scout instead of Zendesk. For provider specific instructions, check out Get Your Email Into Help Scout.
You can choose to change that forwarding before or after you import, as works best for you and your team. You can change it before starting the import tool, and then work out of Help Scout going forward. If you wait to switch your forwarding rule to Help Scout until after the import has finished, you'll want to be sure to re-run your import to catch anything that came in since you started the original import. - If you're using any third-party integrations with Zendesk, such as Olark or SnapEngage, be prepared to change external integration settings after you've made the move to Help Scout. You can always install Help Scout integrations at a later time.
Ready to go? Take a deep breath and let's do this!
Note: We recommend you do not start the import until you're ready to start working within Help Scout primarily to minimize any disruption from switching, and after you've imported data do not delete imported items from Help Scout it unless you truly want it gone! Running the import again will only bring in new tickets that have come in after the original import — it will not replace any you've deleted from Help Scout.
Starting the Import
- 1
-
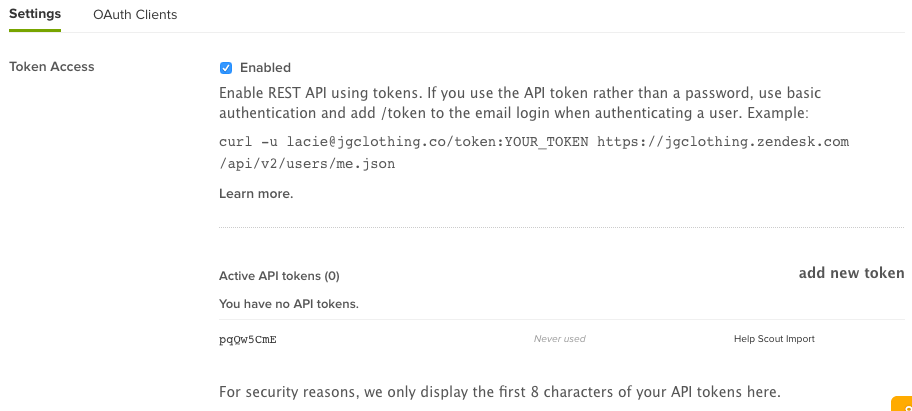
Grab your Zendesk API key from Settings > Channels > API. You'll need to generate a new token, and copy it your clipboard.
- 2
-
Head back to Help Scout and navigate to Manage > Company > Import data to configure the importer, and select Zendesk from the list. Insert your Zendesk sub-domain, an administrator's email address, and your Zendesk API key. Select which mailbox to import tickets to, then press the Next Step button.

If you have multiple Zendesk subdomains, you can import the knowledge base data from those, but you'll need to do it one at a time. Let's say you have 3 Zendesk knowledge bases with 3 different subdomains. From the Import Settings page in Help Scout, enter the first Zendesk site subdomain you want to map to a Help Scout Docs site (either select an existing site from the dropdown menu, or create a totally new site). After that import is complete, you'll need to run two additional imports for the remaining subdomains.
However, our importer does not support importing tickets and customer profiles from multiple Zendesk domains into a single Help Scout account.
Note: In your browser's address bar, the sub-domain is the text preceding .zendesk.com. For example, in the URL mycompany.zendesk.com, the sub-domain would be mycompany.
- 3
-
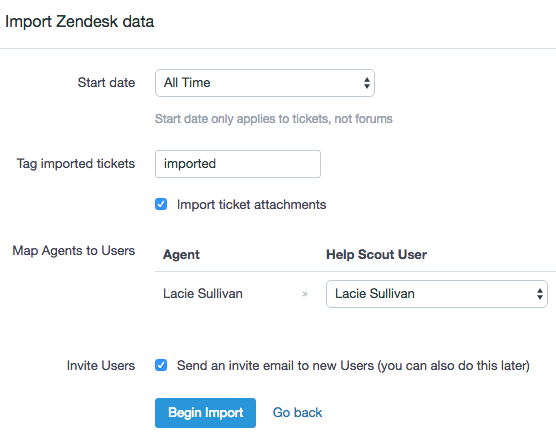
On the next screen, choose to import all of your Zendesk tickets, or only tickets created after a specific date. Make sure to select the appropriate matching User from the dropdown menu. You might want to tag imported tickets just so you know what's what. We'd also recommend importing attachments, so you have a complete record of each ticket.
- 4
-
Remember: if you're importing a bunch of tickets, the import process could be lengthy. Once you've started the import, you can close the page and get back to work. We'll email you when it's all wrapped up!
Imported tickets contain a tiny bit of text that looks something like this: Conversation imported from Zendesk ticket #723.
Note: If you run a second import using this import tool at any stage, only new tickets will be imported — new replies on already imported tickets will not be imported. We recommend having a team member work in Zendesk to manage incoming replies after you set up your forwarder and before your second import. Customer replies to those emails will get looped back to Help Scout from your email forwarding.


